在 PyTorch 中移动 MNIST
来源:dev.to
时间:2024-12-16 13:33:41 121浏览 收藏
有志者,事竟成!如果你在学习文章,那么本文《在 PyTorch 中移动 MNIST》,就很适合你!文章讲解的知识点主要包括,若是你对本文感兴趣,或者是想搞懂其中某个知识点,就请你继续往下看吧~
请我喝杯咖啡☕
*我的帖子解释了移动 mnist。
movingmnist() 可以使用 moving mnist 数据集,如下所示:
*备忘录:
- 第一个参数是 root(必需类型:str 或 pathlib.path)。 *绝对或相对路径都是可能的。
- 第二个参数是 split(optional-default:none-type:str):
*备注:
- 没有,可以设置“train”或“test”。
- 如果为 none,则返回每个视频的所有 20 帧(图像),忽略 split_ratio。
- 第三个参数是 split_ratio(optional-default:10-type:int):
*备注:
- 如果 split 为“train”,则返回 data[:, :split_ratio]。
- 如果 split 为“test”,则返回 data[:, split_ratio:]。
- 如果 split 为 none,则忽略它。 忽略 split_ratio。
- 第四个参数是transform(optional-default:none-type:callable)。
- 第五个参数是 download(optional-default:false-type:bool):
*备注:
- 如果为 true,则数据集将从互联网下载到 root。
- 如果为 true 并且数据集已下载,则将其提取。
- 如果为 true 并且数据集已下载,则不会发生任何事情。
- 如果数据集已经下载,则应该为 false,因为它速度更快。
- 您可以从此处手动下载并提取数据集,例如数据/移动mnist/。
from torchvision.datasets import movingmnist

all_data = movingmnist(
    root="data"
)

all_data = movingmnist(
    root="data",
    split=none,
    split_ratio=10,
    download=false,
    transform=none
)

train_data = movingmnist(
    root="data",
    split="train"
)

test_data = movingmnist(
    root="data",
    split="test"
)

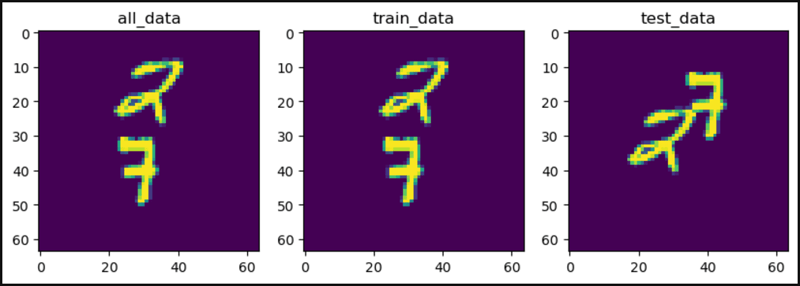
len(all_data), len(train_data), len(test_data)
# (10000, 10000, 10000)

len(all_data[0]), len(train_data[0]), len(test_data[0])
# (20, 10, 10)

all_data
# dataset movingmnist
#     number of datapoints: 10000
#     root location: data

all_data.root
# 'data'

print(all_data.split)
# none

all_data.split_ratio
# 10

all_data.download
# <bound method movingmnist.download of dataset movingmnist
#     number of datapoints: 10000
#     root location: data>

print(all_data.transform)
# none

from torchvision.datasets import movingmnist

import matplotlib.pyplot as plt

plt.figure(figsize=(10, 3))

plt.subplot(1, 3, 1)
plt.title("all_data")
plt.imshow(all_data[0].squeeze()[0])

plt.subplot(1, 3, 2)
plt.title("train_data")
plt.imshow(train_data[0].squeeze()[0])

plt.subplot(1, 3, 3)
plt.title("test_data")
plt.imshow(test_data[0].squeeze()[0])

plt.show()
from torchvision.datasets import movingmnist

all_data = movingmnist(
    root="data",
    split=none
)

train_data = movingmnist(
    root="data",
    split="train"
)

test_data = movingmnist(
    root="data",
    split="test"
)

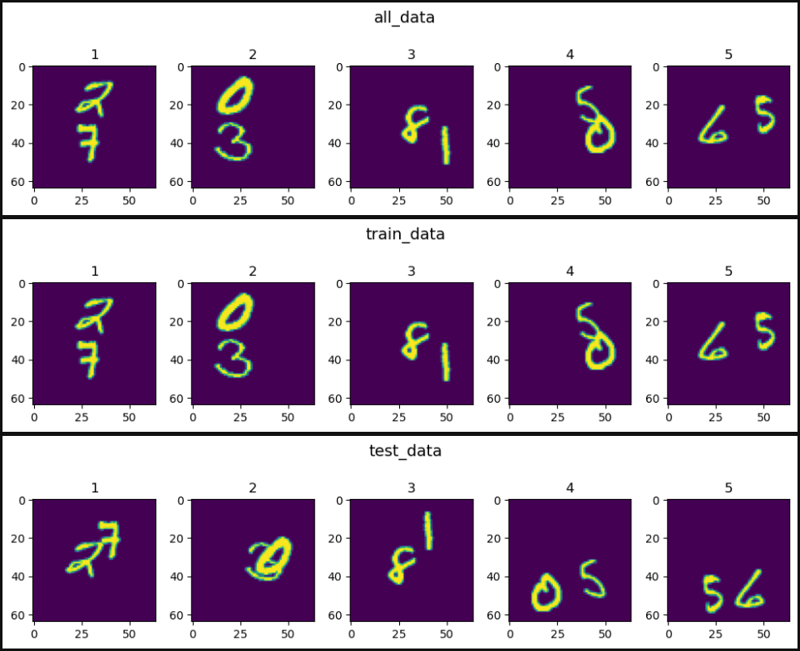
def show_images(data, main_title=none):
    plt.figure(figsize=(10, 8))
    plt.suptitle(t=main_title, y=1.0, fontsize=14)
    for i, image in enumerate(data, start=1):
        plt.subplot(4, 5, i)
        plt.tight_layout(pad=1.0)
        plt.title(i)
        plt.imshow(image)
    plt.show()

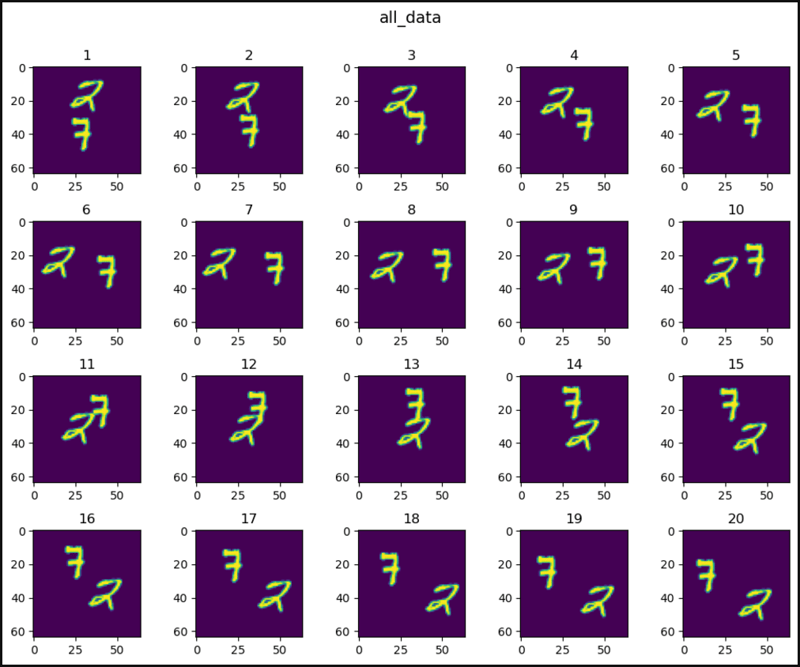
show_images(data=all_data[0].squeeze(), main_title="all_data")
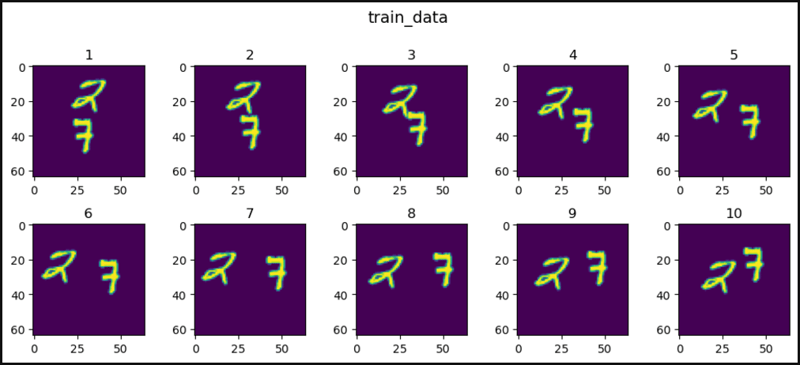
show_images(data=train_data[0].squeeze(), main_title="train_data")
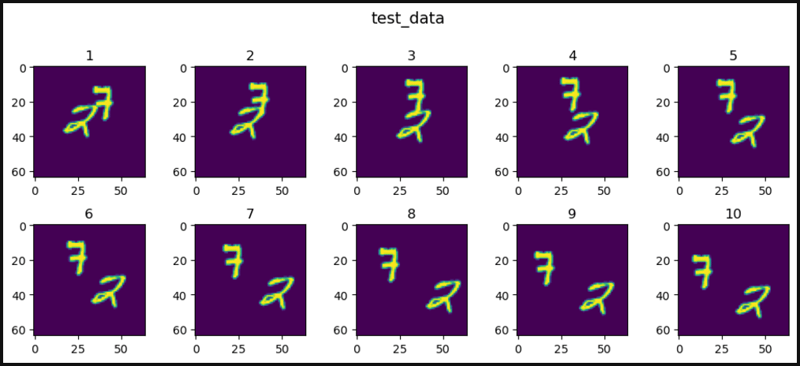
show_images(data=test_data[0].squeeze(), main_title="test_data")
from torchvision.datasets import movingmnist

all_data = movingmnist(
    root="data",
    split=none
)

train_data = movingmnist(
    root="data",
    split="train"
)

test_data = movingmnist(
    root="data",
    split="test"
)

import matplotlib.pyplot as plt

def show_images(data, main_title=none):
    plt.figure(figsize=(10, 8))
    plt.suptitle(t=main_title, y=1.0, fontsize=14)
    col = 5
    for i, image in enumerate(data, start=1):
        plt.subplot(4, 5, i)
        plt.tight_layout(pad=1.0)
        plt.title(i)
        plt.imshow(image.squeeze()[0])
        if i == col:
            break
    plt.show()

show_images(data=all_data, main_title="all_data")
show_images(data=train_data, main_title="train_data")
show_images(data=test_data, main_title="test_data")
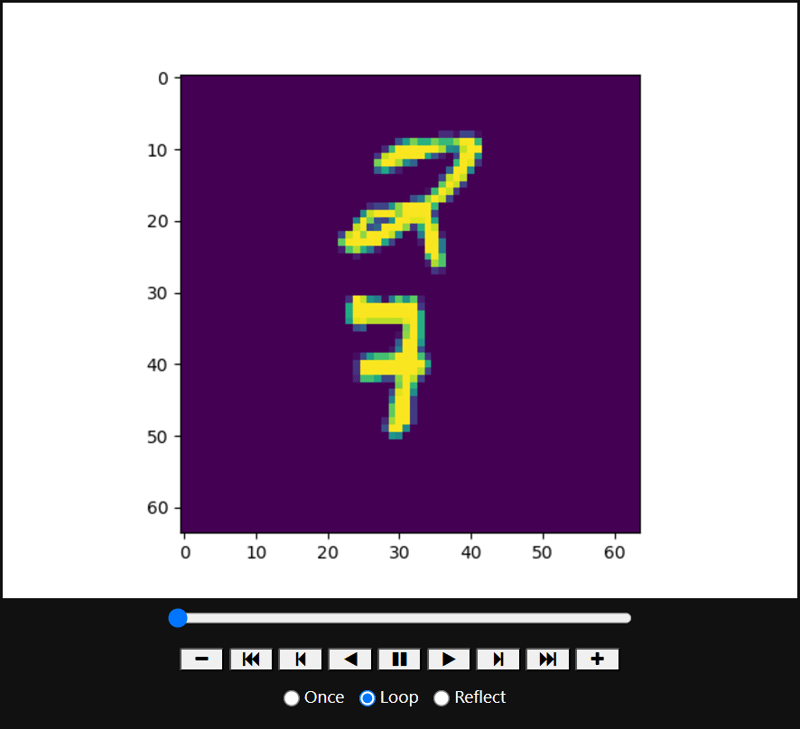
from torchvision.datasets import movingmnist
import matplotlib.animation as animation

all_data = movingmnist(
    root="data"
)

import matplotlib.pyplot as plt
from ipython.display import html

figure, axis = plt.subplots()

# ↓ ↓ ↓ ↓ ↓ ↓ ↓ ↓ ↓ ↓ `artistanimation()` ↓ ↓ ↓ ↓ ↓ ↓ ↓ ↓ ↓ ↓
images = []
for image in all_data[0].squeeze():
    images.append([axis.imshow(image)])
ani = animation.artistanimation(fig=figure, artists=images,
                                interval=100)
# ↑ ↑ ↑ ↑ ↑ ↑ ↑ ↑ ↑ ↑ `artistanimation()` ↑ ↑ ↑ ↑ ↑ ↑ ↑ ↑ ↑ ↑

# ↓ ↓ ↓ ↓ ↓ ↓ ↓ ↓ ↓ `funcanimation()` ↓ ↓ ↓ ↓ ↓ ↓ ↓ ↓ ↓
# def animate(i):
#     axis.imshow(all_data[0].squeeze()[i])
#
# ani = animation.funcanimation(fig=figure, func=animate,
#                               frames=20, interval=100)
# ↑ ↑ ↑ ↑ ↑ ↑ ↑ ↑ ↑ `funcanimation()` ↑ ↑ ↑ ↑ ↑ ↑ ↑ ↑ ↑

# ani.save('result.gif') # save the animation as a `.gif` file

plt.ioff() # hide a useless image

# ↓ ↓ ↓ ↓ ↓ ↓ ↓ ↓ show animation ↓ ↓ ↓ ↓ ↓ ↓ ↓ ↓
html(ani.to_jshtml()) # animation operator
# html(ani.to_html5_video()) # animation video
# ↑ ↑ ↑ ↑ ↑ ↑ ↑ ↑ show animation ↑ ↑ ↑ ↑ ↑ ↑ ↑ ↑

# ↓ ↓ ↓ ↓ ↓ ↓ ↓ ↓ ↓ ↓ ↓ ↓ show animation ↓ ↓ ↓ ↓ ↓ ↓ ↓ ↓ ↓ ↓ ↓ ↓
# plt.rcparams["animation.html"] = "jshtml" # animation operator
# plt.rcparams["animation.html"] = "html5" # animation video
# ↑ ↑ ↑ ↑ ↑ ↑ ↑ ↑ ↑ ↑ ↑ ↑ show animation ↑ ↑ ↑ ↑ ↑ ↑ ↑ ↑ ↑ ↑ ↑ ↑
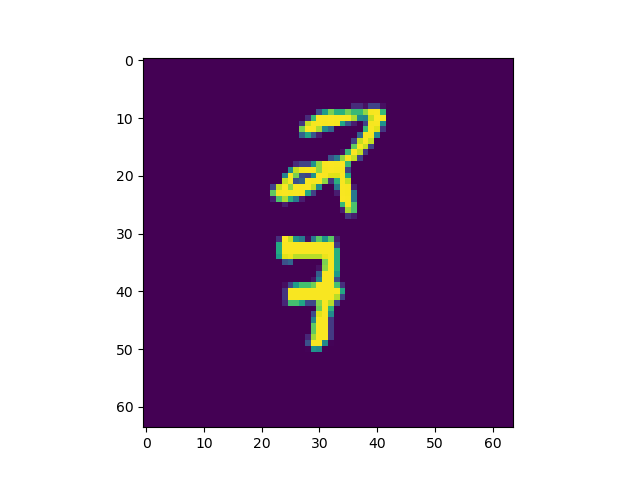
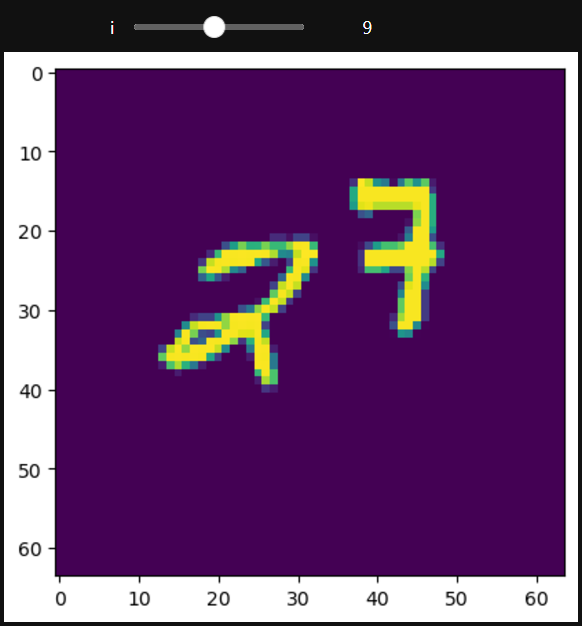
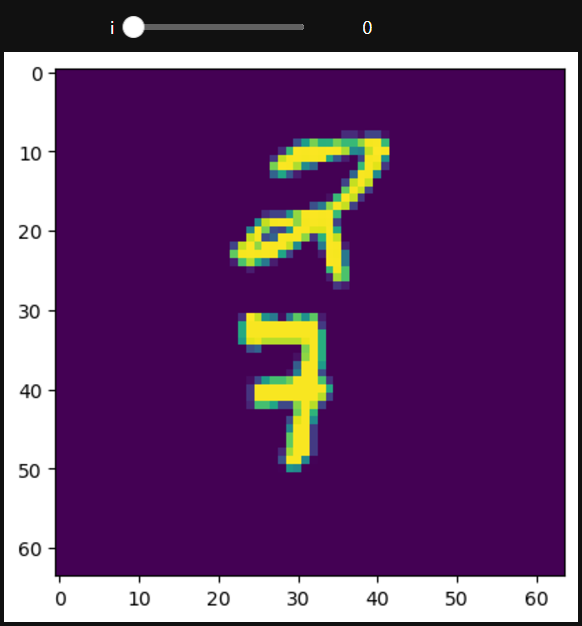
from torchvision.datasets import MovingMNIST
from ipywidgets import interact, IntSlider

all_data = MovingMNIST(
    root="data"
)

import matplotlib.pyplot as plt
from IPython.display import HTML

def func(i):
    plt.imshow(all_data[0].squeeze()[i])

interact(func, i=(0, 19, 1))
# interact(func, i=IntSlider(min=0, max=19, step=1, value=0))
# ↑ ↑ ↑ ↑ ↑ ↑ ↑ ↑ ↑ ↑ Set the start value ↑ ↑ ↑ ↑ ↑ ↑ ↑ ↑ ↑ ↑
plt.show()
以上就是《在 PyTorch 中移动 MNIST》的详细内容,更多关于的资料请关注golang学习网公众号!
声明:本文转载于:dev.to 如有侵犯,请联系study_golang@163.com删除
相关阅读
更多>
-
501 收藏
-
501 收藏
-
501 收藏
-
501 收藏
-
501 收藏
最新阅读
更多>
-
450 收藏
-
474 收藏
-
124 收藏
-
309 收藏
-
322 收藏
-
304 收藏
-
146 收藏
-
273 收藏
-
225 收藏
-
233 收藏
-
317 收藏
-
336 收藏
课程推荐
更多>
-

- 前端进阶之JavaScript设计模式
- 设计模式是开发人员在软件开发过程中面临一般问题时的解决方案,代表了最佳的实践。本课程的主打内容包括JS常见设计模式以及具体应用场景,打造一站式知识长龙服务,适合有JS基础的同学学习。
- 立即学习 543次学习
-

- GO语言核心编程课程
- 本课程采用真实案例,全面具体可落地,从理论到实践,一步一步将GO核心编程技术、编程思想、底层实现融会贯通,使学习者贴近时代脉搏,做IT互联网时代的弄潮儿。
- 立即学习 516次学习
-

- 简单聊聊mysql8与网络通信
- 如有问题加微信:Le-studyg;在课程中,我们将首先介绍MySQL8的新特性,包括性能优化、安全增强、新数据类型等,帮助学生快速熟悉MySQL8的最新功能。接着,我们将深入解析MySQL的网络通信机制,包括协议、连接管理、数据传输等,让
- 立即学习 500次学习
-

- JavaScript正则表达式基础与实战
- 在任何一门编程语言中,正则表达式,都是一项重要的知识,它提供了高效的字符串匹配与捕获机制,可以极大的简化程序设计。
- 立即学习 487次学习
-

- 从零制作响应式网站—Grid布局
- 本系列教程将展示从零制作一个假想的网络科技公司官网,分为导航,轮播,关于我们,成功案例,服务流程,团队介绍,数据部分,公司动态,底部信息等内容区块。网站整体采用CSSGrid布局,支持响应式,有流畅过渡和展现动画。
- 立即学习 485次学习
