Go语言中go mod vendor使用方法
来源:脚本之家
时间:2022-12-31 16:54:11 486浏览 收藏
本篇文章主要是结合我之前面试的各种经历和实战开发中遇到的问题解决经验整理的,希望这篇《Go语言中go mod vendor使用方法》对你有很大帮助!欢迎收藏,分享给更多的需要的朋友学习~
1.背景
我们基于 go mod 机制来管理我们项目的依赖库版本,其中 go.mod 记录了依赖库版本信息。
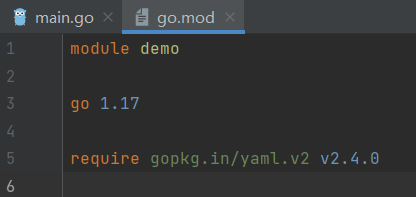
一般第三方依赖库(包括公司内网gitlab上的依赖库),其源码都不被包含在我们的项目内部,而是在编译的时候go连接公网、内网下载到本地GOPATH,然后编译。
问题是,有些时候需在无公网、无内网(无法连接内网gitlab)的情况下编译go项目,如何做呢?
在此时,需使用go mod vendor将项目的依赖库下载到项目内部,作为项目的一部分来编译。
PS:
- 虽然通常不会也不需要在无公网、无内网环境实时编译,因为go的可移植性很好,常以可执行文件方式交付部署,但并不能排除此种可能;
- 防止依赖库因为某种原因被删除、移动,导致找不到依赖并编译失败;
- 对新手来说,下载一些墙外的依赖可能略有困难;
- 其他…
总之,我们的目的是使用 go mod vendor,将项目的依赖库下载到项目内部,即项目中包含依赖库源码,依赖库如同项目的一部分,也受到项目的版本管控(git、svn…)。
2.环境
go环境:
D:\workspace\demo>go env
set GO111MODULE=on
set GOARCH=amd64
set GOBIN=
set GOCACHE=C:\Users\梁翠翠\AppData\Local\go-build
set GOENV=C:\Users\梁翠翠\AppData\Roaming\go\env
set GOEXE=.exe
set GOEXPERIMENT=
set GOFLAGS=
set GOHOSTARCH=amd64
set GOHOSTOS=windows
set GOINSECURE=
set GOMODCACHE=C:\gopath\pkg\mod
set GONOPROXY=gitlab.ebupt.com
set GONOSUMDB=gitlab.ebupt.com
set GOOS=windows
set GOPATH=C:\gopath
set GOPRIVATE=gitlab.ebupt.com
set GOPROXY=https://goproxy.io
set GOROOT=C:\Program Files\Go
set GOSUMDB=sum.golang.org
set GOTMPDIR=
set GOTOOLDIR=C:\Program Files\Go\pkg\tool\windows_amd64
set GOVCS=
set GOVERSION=go1.17.2
set GCCGO=gccgo
set AR=ar
set CC=gcc
set CXX=g++
set CGO_ENABLED=1
set GOMOD=D:\workspace\demo\go.mod
set CGO_CFLAGS=-g -O2
set CGO_CPPFLAGS=
set CGO_CXXFLAGS=-g -O2
set CGO_FFLAGS=-g -O2
set CGO_LDFLAGS=-g -O2
set PKG_CONFIG=pkg-config
set GOGCCFLAGS=-m64 -mthreads -fmessage-length=0 -fdebug-prefix-map=C:\Users\梁翠翠\AppData\Local\Temp\go-build648873300=/tmp/go-build -gno-record-gcc-switches
goland版本:

3.使用
示例:
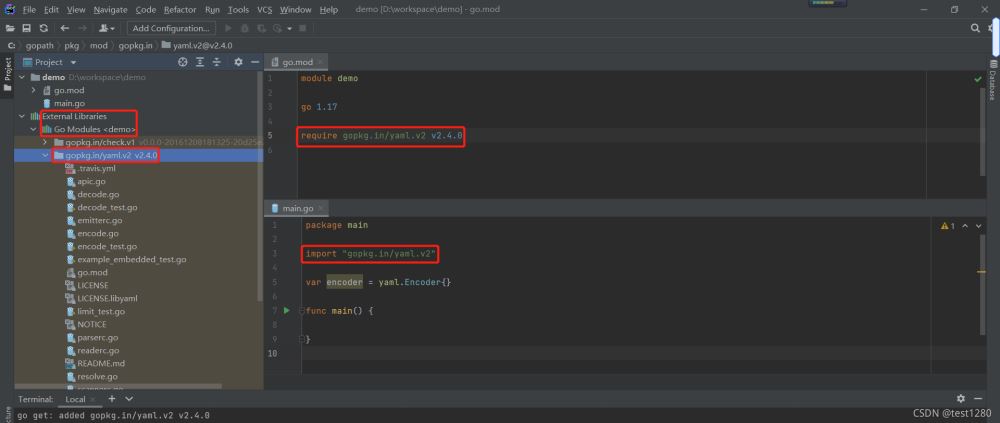
项目demo由两个文件构成:
1.main.go:项目依赖gopkg.in/yaml.v2 module(版本:v2.4.0);
2.go.mod:记录当前项目demo依赖yaml module;
最常用、最简单的办法是,直接执行go mod vendor:
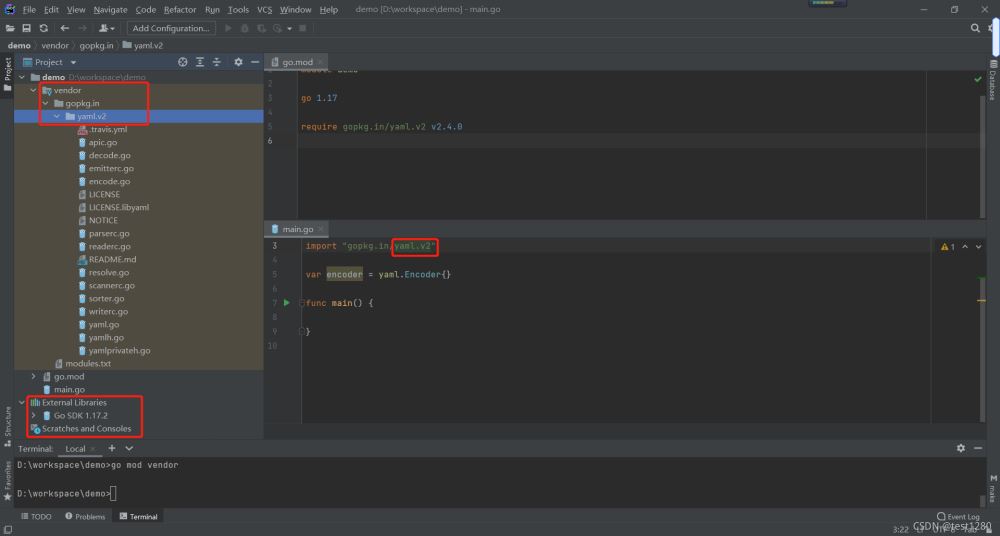
执行go mod vendor,将此项目依赖的gopkg.in/yaml.v2@v2.4.0下载到项目demo的根目录vendor中,并按照特定格式、规范组织。
如果此时你ctrl+鼠标点击import后面的yaml.v2时,将自动跳转到vendor目录下的yaml.v2:
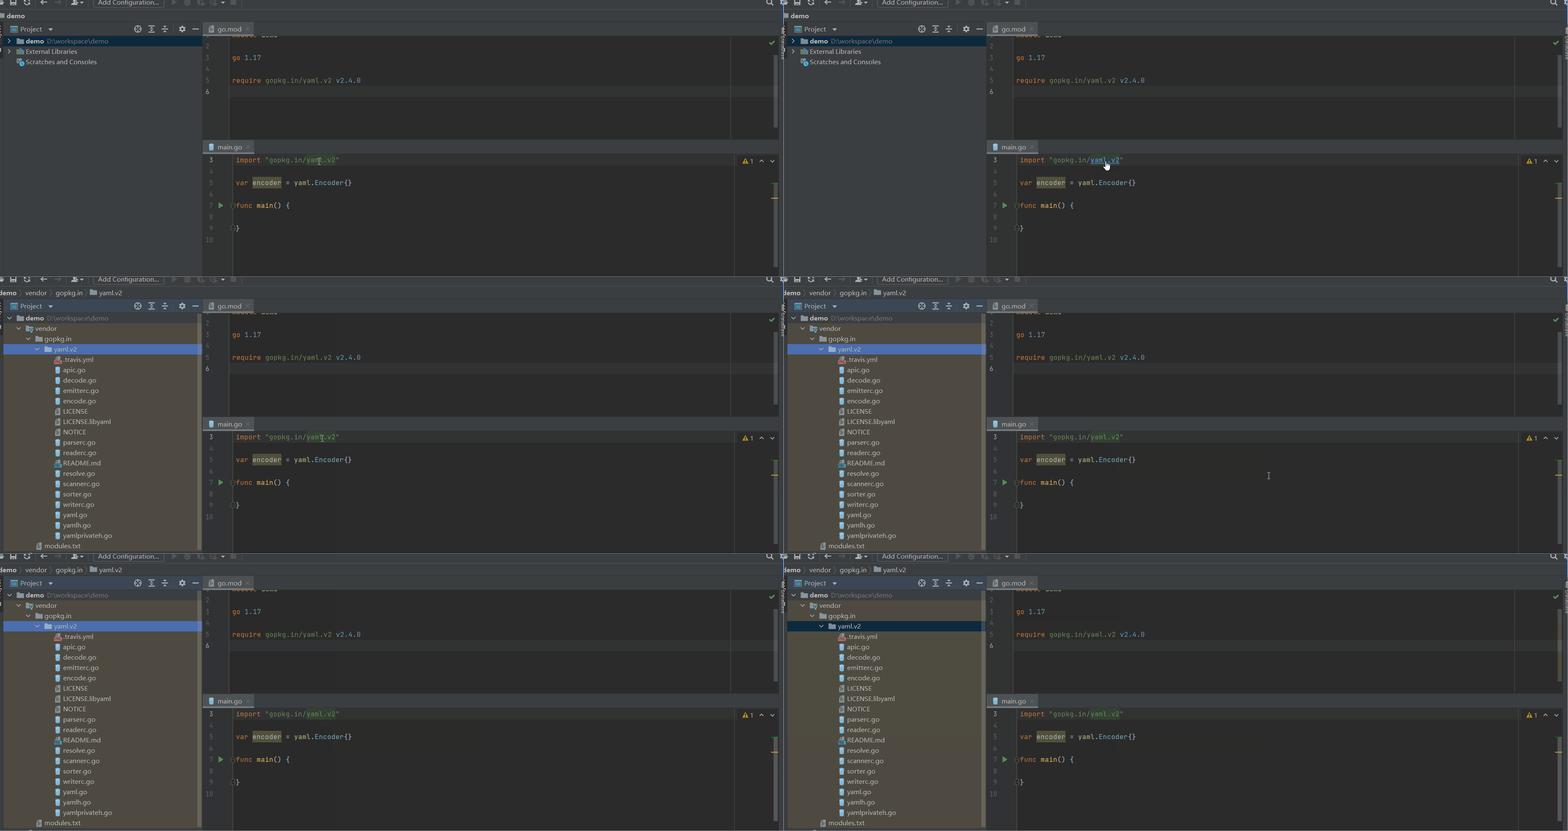
而不再是GOPATH中的yaml.v2:
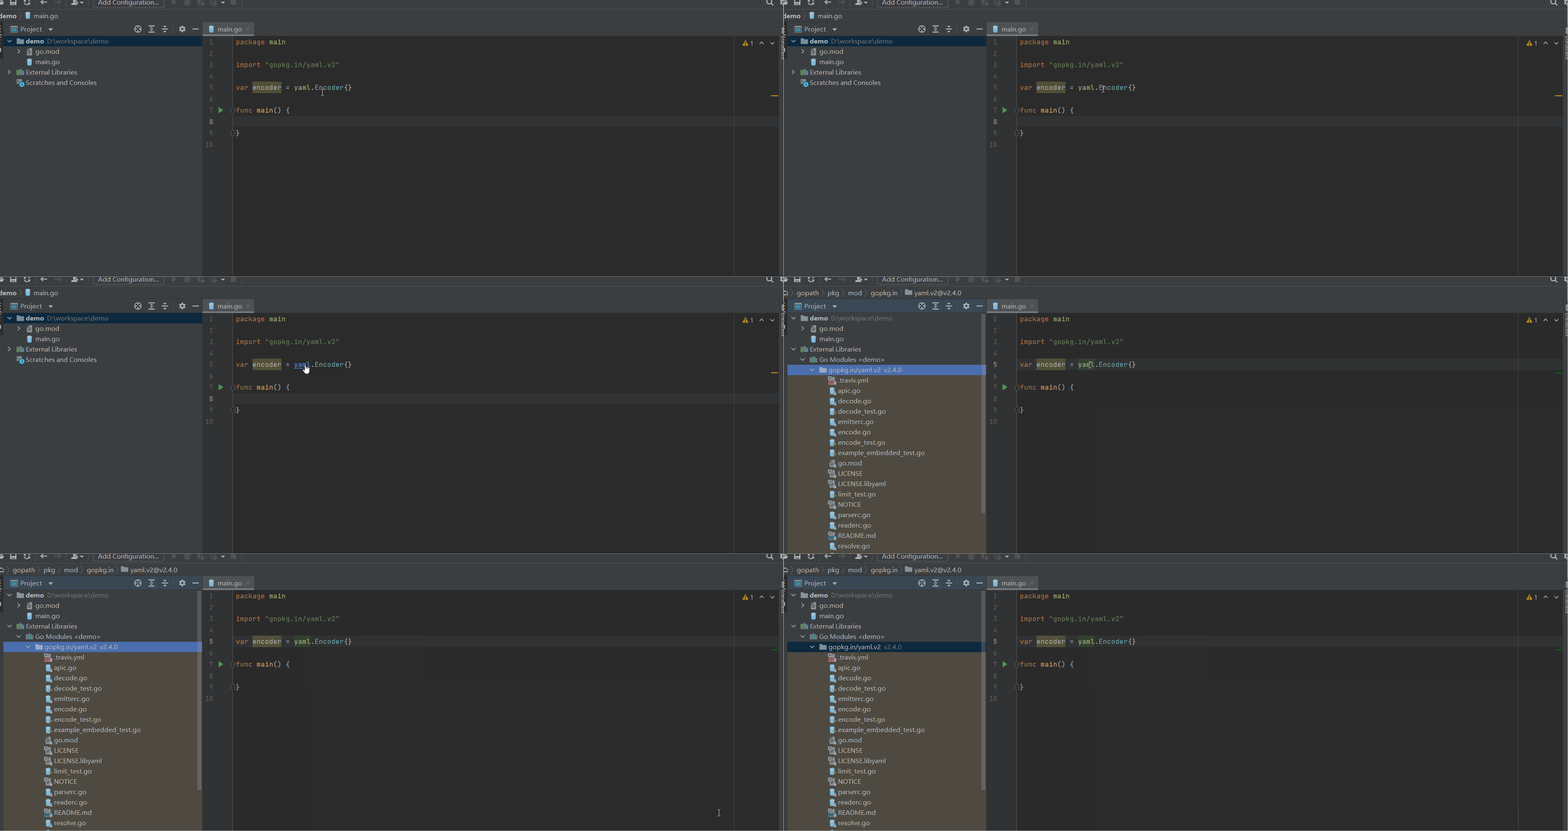
goland在提示你,当前项目使用的是项目demo中vendor目录下得yaml.v2,而非GOPATH中的yaml.v2。
即使此刻,我们将GOPATH中的yaml.v2删除:

在项目中直接编译demo,不再需要下载yaml.v2依赖:
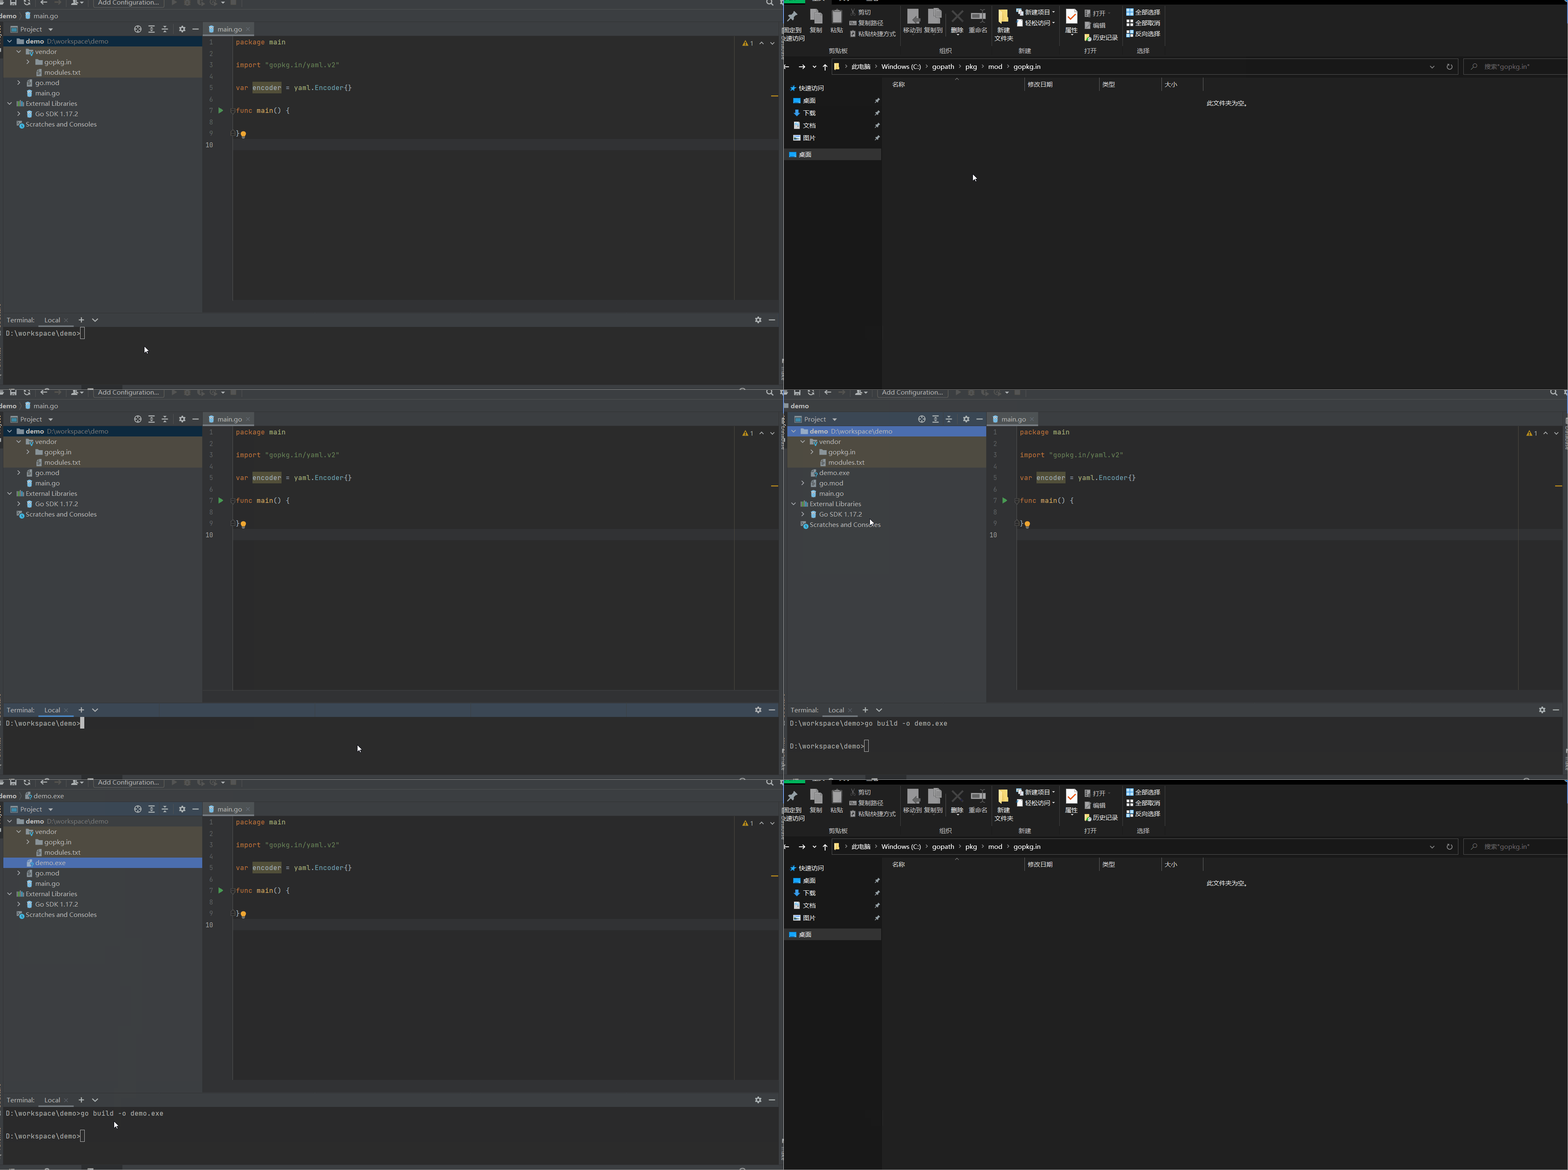
4.原理
官方文档请参见【重要!!!】:
1.https://golang.org/ref/mod#go-mod-vendor
2.https://golang.org/ref/mod#vendoring
命令行帮助:
D:\workspace\demo>go help mod vendor
usage: go mod vendor [-e] [-v]

Vendor resets the main module's vendor directory to include all packages
needed to build and test all the main module's packages.
It does not include test code for vendored packages.

The -v flag causes vendor to print the names of vendored
modules and packages to standard error.

The -e flag causes vendor to attempt to proceed despite errors
encountered while loading packages.

See https://golang.org/ref/mod#go-mod-vendor for more about 'go mod vendor'.
关键部分:
1.The go mod vendor command constructs a directory named vendor in the main module’s root directory that contains copies of all packages needed to support builds and tests of packages in the main module.
2.When vendoring is enabled, the go command will load packages from the vendor directory instead of downloading modules from their sources into the module cache and using packages those downloaded copies.
3.If go.mod changed since vendor/modules.txt was generated, go mod vendor should be run again.
如果 go.mod 发生变化,应当重新执行 go mod vendor!
4.Note that go mod vendor removes the vendor directory if it exists before re-constructing it. Local changes should not be made to vendored packages. The go command does not check that packages in the vendor directory have not been modified, but one can verify the integrity of the vendor directory by running go mod vendor and checking that no changes were made.
- 执行go mod vendor将删除项目中已存在的vendor目录;
- 永远不要对vendor中的依赖库进行二次修改、更改!
- go命令不检查vendor中的依赖库是否被修改;
5.If the vendor directory is present in the main module’s root directory, it will be used automatically if the go version in the main module’s go.mod file is 1.14 or higher. To explicitly enable vendoring, invoke the go command with the flag -mod=vendor. To disable vendoring, use the flag -mod=readonly or -mod=mod.
在go version >= 1.14时,如果存在vendor目录,将自动启用vendor。
-mod=vendor
-mod=readonly
-mod=mod
6.When vendoring is enabled, build commands like go build and go test load packages from the vendor directory instead of accessing the network or the local module cache.
5.参考
- https://golang.org/ref/mod#go-mod-vendor
- https://golang.org/ref/mod#vendoring
- https://yanbin.blog/go-use-go-mod-manage-dependencies/
- https://cloud.tencent.com/developer/article/1626849
- https://cloud.tencent.com/developer/article/1604866
今天关于《Go语言中go mod vendor使用方法》的内容就介绍到这里了,是不是学起来一目了然!想要了解更多关于golang的内容请关注golang学习网公众号!
-
415 收藏
-
483 收藏
-
484 收藏
-
417 收藏
-
293 收藏
-
285 收藏
-
496 收藏
-
386 收藏
-
363 收藏
-
350 收藏
-
230 收藏
-
380 收藏
-
391 收藏
-
230 收藏
-
212 收藏
-
363 收藏
-
264 收藏
-

- 前端进阶之JavaScript设计模式
- 设计模式是开发人员在软件开发过程中面临一般问题时的解决方案,代表了最佳的实践。本课程的主打内容包括JS常见设计模式以及具体应用场景,打造一站式知识长龙服务,适合有JS基础的同学学习。
- 立即学习 543次学习
-

- GO语言核心编程课程
- 本课程采用真实案例,全面具体可落地,从理论到实践,一步一步将GO核心编程技术、编程思想、底层实现融会贯通,使学习者贴近时代脉搏,做IT互联网时代的弄潮儿。
- 立即学习 516次学习
-

- 简单聊聊mysql8与网络通信
- 如有问题加微信:Le-studyg;在课程中,我们将首先介绍MySQL8的新特性,包括性能优化、安全增强、新数据类型等,帮助学生快速熟悉MySQL8的最新功能。接着,我们将深入解析MySQL的网络通信机制,包括协议、连接管理、数据传输等,让
- 立即学习 500次学习
-

- JavaScript正则表达式基础与实战
- 在任何一门编程语言中,正则表达式,都是一项重要的知识,它提供了高效的字符串匹配与捕获机制,可以极大的简化程序设计。
- 立即学习 487次学习
-

- 从零制作响应式网站—Grid布局
- 本系列教程将展示从零制作一个假想的网络科技公司官网,分为导航,轮播,关于我们,成功案例,服务流程,团队介绍,数据部分,公司动态,底部信息等内容区块。网站整体采用CSSGrid布局,支持响应式,有流畅过渡和展现动画。
- 立即学习 485次学习

