若依前后端分离版部署在阿里云服务器上
来源:SegmentFault
时间:2023-01-16 21:04:31 132浏览 收藏
有志者,事竟成!如果你在学习数据库,那么本文《若依前后端分离版部署在阿里云服务器上》,就很适合你!文章讲解的知识点主要包括MySQL、Java、vue.js,若是你对本文感兴趣,或者是想搞懂其中某个知识点,就请你继续往下看吧~
1.从若依代码管理平台下载代码
代码下载:https://gitee.com/y_project/R...
2.检查环境是否兼容

3.导入项目,配置maven,导入数据库脚本,下载依赖设置好自己的开发环境.
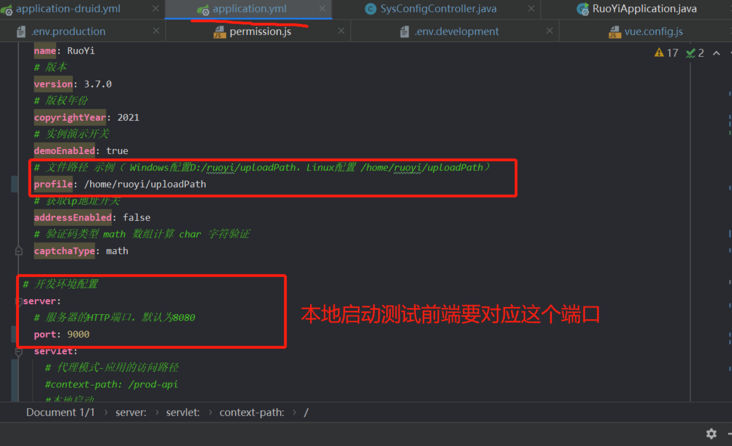
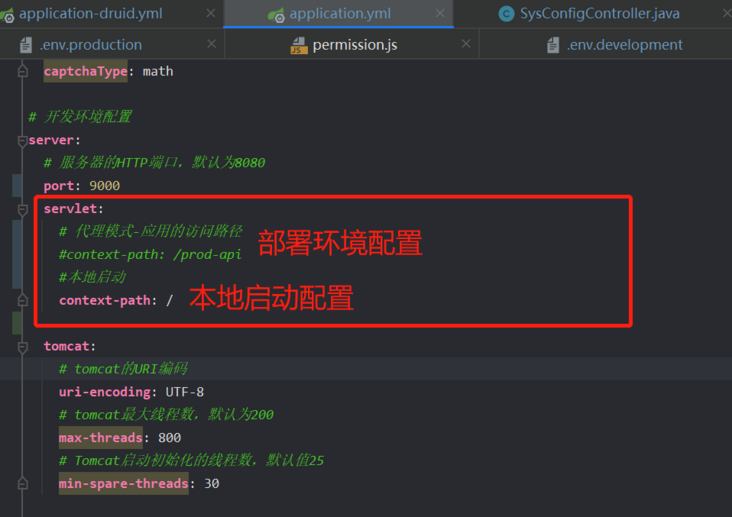
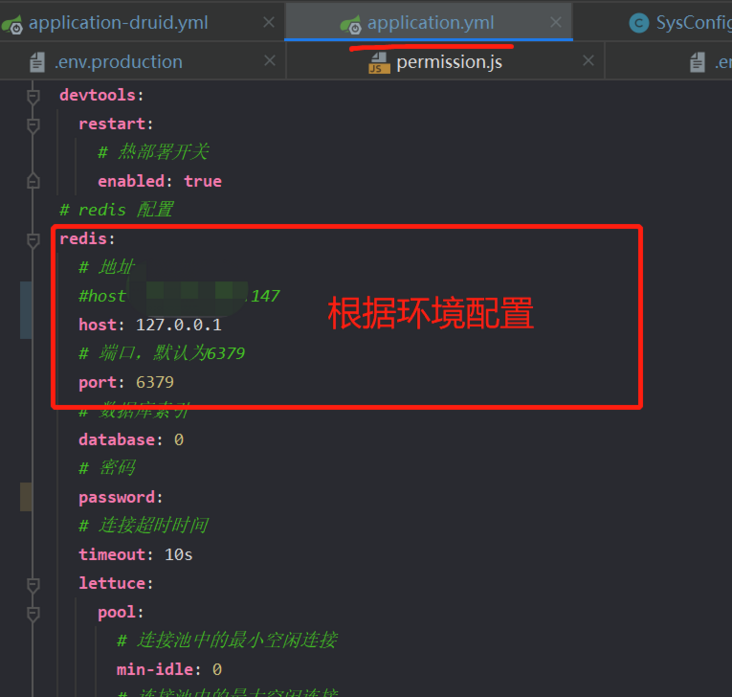
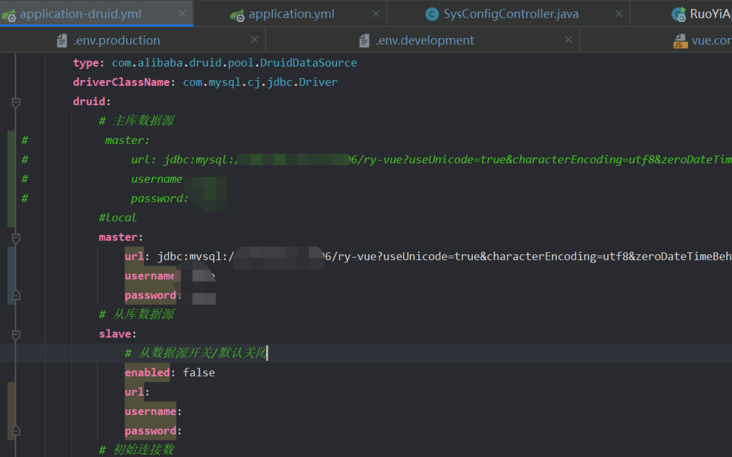
4.前端配置修改.
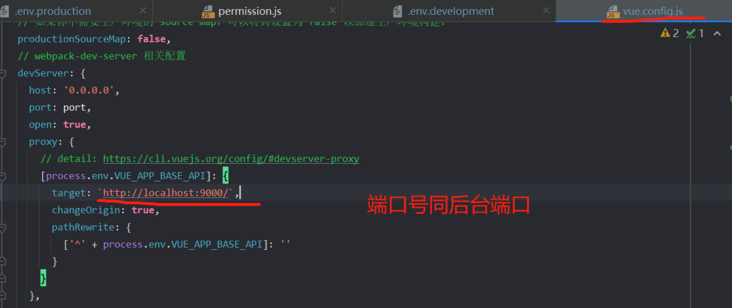
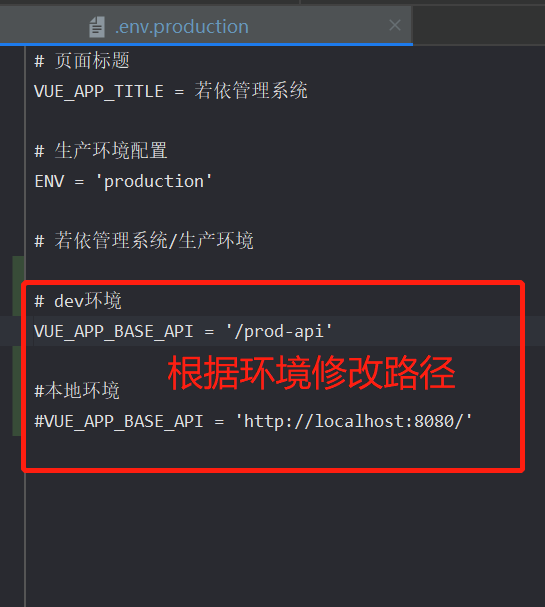
5.后端代码打包
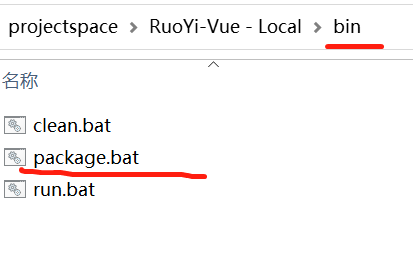
5.1 打包脚本
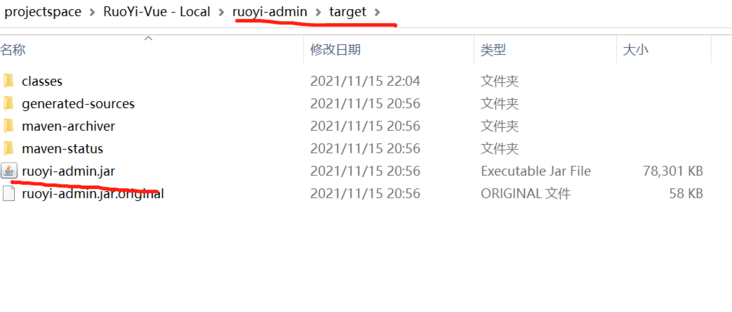
5.2 打包成功,生成jar包
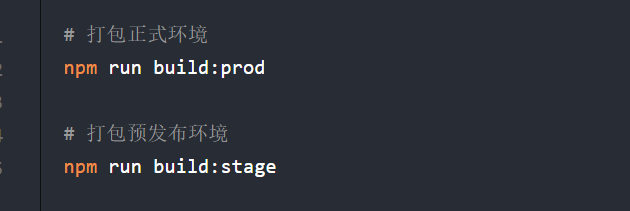
6.前端代码打包
6.1 在ruoyi-ui文件里面执行cmd执行打包命令
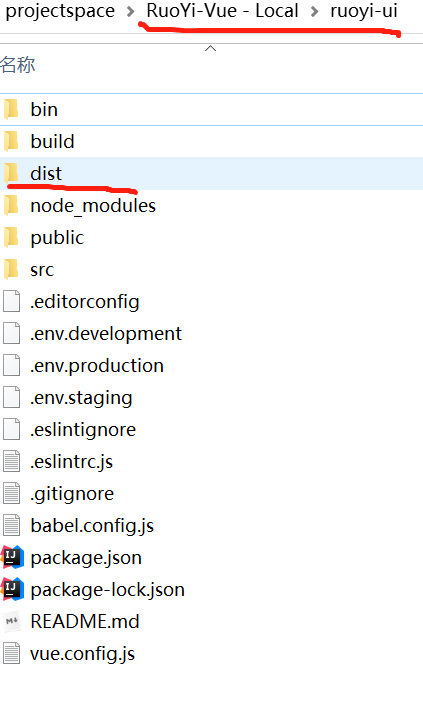
6.2 打包成功,生成dist文件
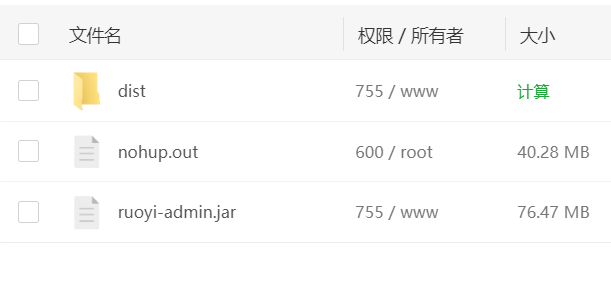
7.上传打包的文件到服务器上,放在同一个文件夹下就行了
8.配置nginx代理
#user  nobody;
worker_processes  1;

#error_log  logs/error.log;
#error_log  logs/error.log  notice;
#error_log  logs/error.log  info;

#pid        logs/nginx.pid;


events {
    worker_connections  1024;
}


http {
    include       mime.types;
    default_type  application/octet-stream;

    log_format  main  '$remote_addr - $remote_user [$time_local] "$request" '
    #                  '$status $body_bytes_sent "$http_referer" '
    #                  '"$http_user_agent" "$http_x_forwarded_for"';

    access_log  logs/access.log  main;

    sendfile        on;
    #tcp_nopush     on;

    #keepalive_timeout  0;
    keepalive_timeout  65;

    upstream  mywebs {
      ip_hash;
      server 127.0.0.1:9000 weight=5   max_fails=3  fail_timeout=10s;
    }

    #gzip  on;

    server {
        listen 80;
        server_name xxx.xx.xxx.x; # 这里是你的服务器IP地址
        root   /home/web/dist;  # 前端工程的目录
        index  index.html;  # 前端页面
        try_files $uri $uri/ /index.html;


        location /prod-api/ {  # 反向代理到后端工程
            proxy_set_header Host $http_host;
            proxy_set_header X-Real-IP $remote_addr;
            proxy_set_header REMOTE-HOST $remote_addr;
            proxy_set_header X-Forwarded-For $proxy_add_x_forwarded_for;
            proxy_pass http://localhost:9000;
        }
        #error_page  404              /404.html;

        # redirect server error pages to the static page /50x.html
        #
        error_page   500 502 503 504  /50x.html;
        location = /50x.html {
            root   html;
        }

        # proxy the PHP scripts to Apache listening on 127.0.0.1:80
        #
        #location ~ \.php$ {
        #    proxy_pass   http://127.0.0.1;
        #}

        # pass the PHP scripts to FastCGI server listening on 127.0.0.1:9000
        #
        #location ~ \.php$ {
        #    root           html;
        #    fastcgi_pass   127.0.0.1:9000;
        #    fastcgi_index  index.php;
        #    fastcgi_param  SCRIPT_FILENAME  /scripts$fastcgi_script_name;
        #    include        fastcgi_params;
        #}

        # deny access to .htaccess files, if Apache's document root
        # concurs with nginx's one
        #
        #location ~ /\.ht {
        #    deny  all;
        #}
    }


    # another virtual host using mix of IP-, name-, and port-based configuration
    #
    #server {
    #    listen       8000;
    #    listen       somename:8080;
    #    server_name  somename  alias  another.alias;

    #    location / {
    #        root   html;
    #        index  index.html index.htm;
    #    }
    #}


    # HTTPS server
    #
    #server {
    #    listen       443 ssl;
    #    server_name  localhost;

    #    ssl_certificate      cert.pem;
    #    ssl_certificate_key  cert.key;

    #    ssl_session_cache    shared:SSL:1m;
    #    ssl_session_timeout  5m;

    #    ssl_ciphers  HIGH:!aNULL:!MD5;
    #    ssl_prefer_server_ciphers  on;

    #    location / {
    #        root   html;
    #        index  index.html index.htm;
    #    }
    #}

}
9.在目录里面启动项目
暂时运行指令:java -jar ruoyi-admin.jar(文件名)
持续运行指令:nohup java -jar ruoyi-admin.jar &
查看运行情况指令:jps
10.通过IP服务器地址访问测试 http:xxx.xx.xxx.x
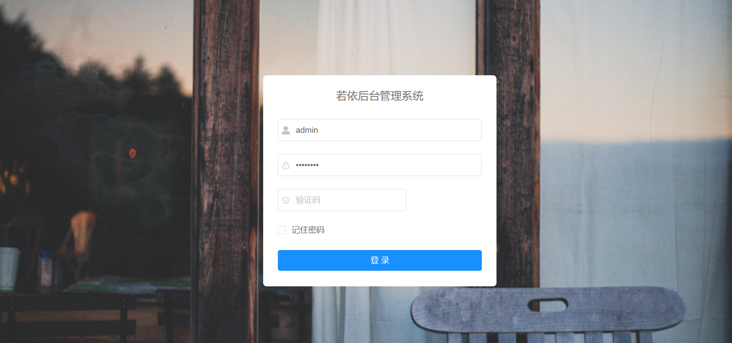
完工!
好了,本文到此结束,带大家了解了《若依前后端分离版部署在阿里云服务器上》,希望本文对你有所帮助!关注golang学习网公众号,给大家分享更多数据库知识!
声明:本文转载于:SegmentFault 如有侵犯,请联系study_golang@163.com删除
相关阅读
更多>
-
499 收藏
-
244 收藏
-
235 收藏
-
157 收藏
-
101 收藏
最新阅读
更多>
-
404 收藏
-
427 收藏
-
351 收藏
-
156 收藏
-
405 收藏
-
497 收藏
-
133 收藏
-
319 收藏
-
141 收藏
-
256 收藏
-
259 收藏
-
167 收藏
课程推荐
更多>
-

- 前端进阶之JavaScript设计模式
- 设计模式是开发人员在软件开发过程中面临一般问题时的解决方案,代表了最佳的实践。本课程的主打内容包括JS常见设计模式以及具体应用场景,打造一站式知识长龙服务,适合有JS基础的同学学习。
- 立即学习 543次学习
-

- GO语言核心编程课程
- 本课程采用真实案例,全面具体可落地,从理论到实践,一步一步将GO核心编程技术、编程思想、底层实现融会贯通,使学习者贴近时代脉搏,做IT互联网时代的弄潮儿。
- 立即学习 516次学习
-

- 简单聊聊mysql8与网络通信
- 如有问题加微信:Le-studyg;在课程中,我们将首先介绍MySQL8的新特性,包括性能优化、安全增强、新数据类型等,帮助学生快速熟悉MySQL8的最新功能。接着,我们将深入解析MySQL的网络通信机制,包括协议、连接管理、数据传输等,让
- 立即学习 500次学习
-

- JavaScript正则表达式基础与实战
- 在任何一门编程语言中,正则表达式,都是一项重要的知识,它提供了高效的字符串匹配与捕获机制,可以极大的简化程序设计。
- 立即学习 487次学习
-

- 从零制作响应式网站—Grid布局
- 本系列教程将展示从零制作一个假想的网络科技公司官网,分为导航,轮播,关于我们,成功案例,服务流程,团队介绍,数据部分,公司动态,底部信息等内容区块。网站整体采用CSSGrid布局,支持响应式,有流畅过渡和展现动画。
- 立即学习 485次学习

